Table of contents
For new users, I recommend reading this documentation in sequential order. If you are trying to find out how to do something specific, refer to the “How To” section.
User Interface
—-Splice View
—-Edit transcription view
—-Settings
—-Segment View
—-Find View
—-Menu Items
How To
—-Add a file to the project
—-Export a project
—-Import a project
—-Export
—-Change the start and end time of a splice
Summary
SpliceX is a macOS application that provides transcription and word-based splicing for video and audio files. Files are transcribed and diarized automatically, and the user can edit the transcription to fix errors. A selection list appears, allowing the user to select individual words to splice together. The user can then export the spliced words to a file.
The supported formats are MP4, MOV, and M4A
User Interface
Splice View
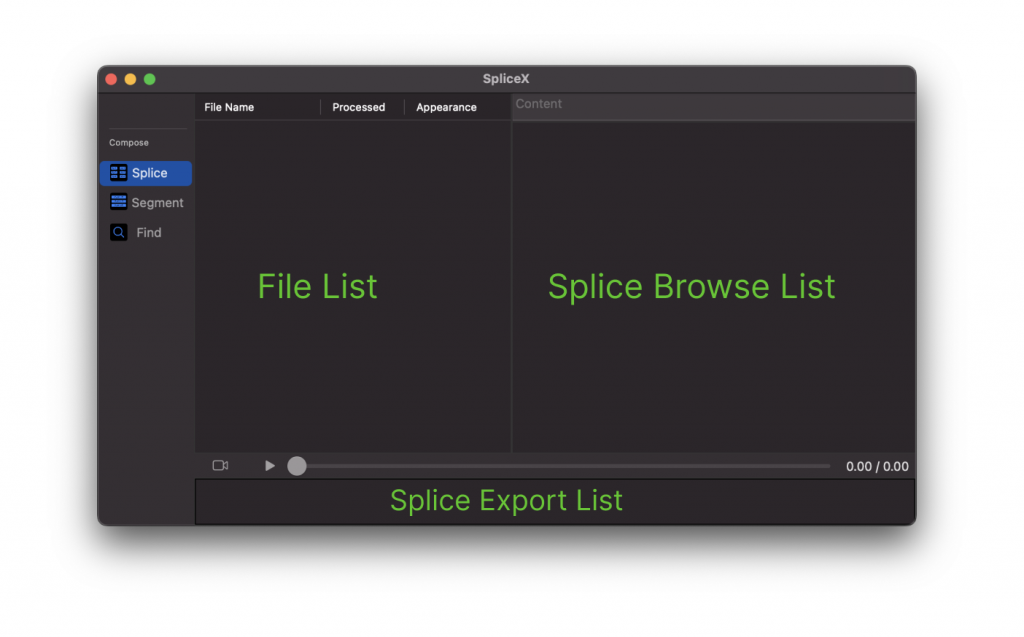
For this document, we will refer to the portions of the Splice View in the following way.
File List: Since the Splice View is treated as the main entry point of the application. New files are added here and listed under this file list table. The status of those files also appear & are managed in that table.
Splice Browse List This is where the word level splices appear for the files in the file list
Splice Export List Selected splices (and segments) will appear here. Here you can resize the splices to fine tune the start & end time.
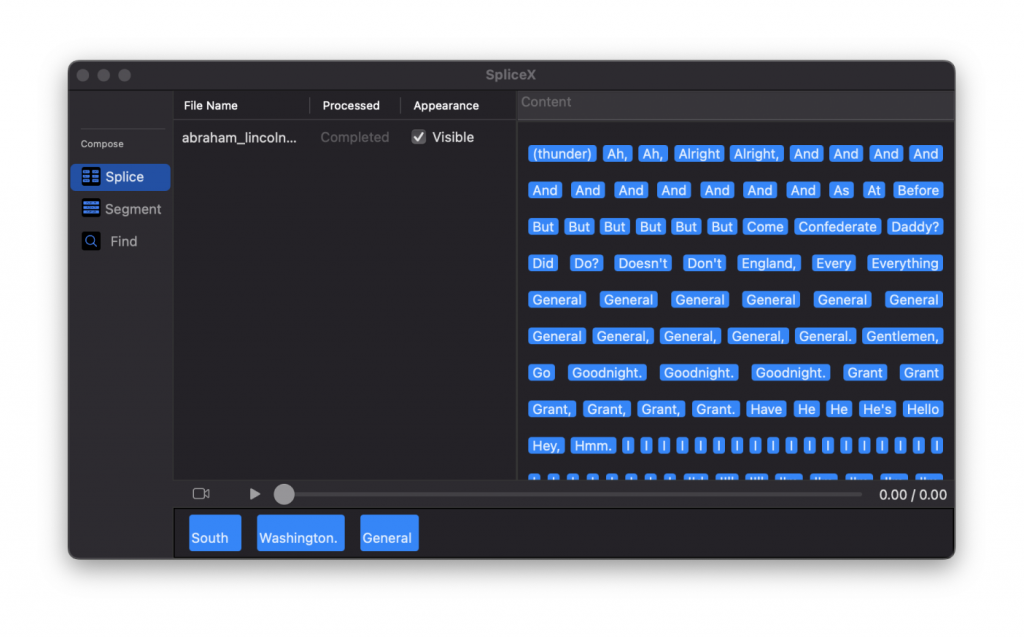
On the left you have the list of files, the filename, and the processing status of the file. Files that are not labeled as Completed will not be available for use.
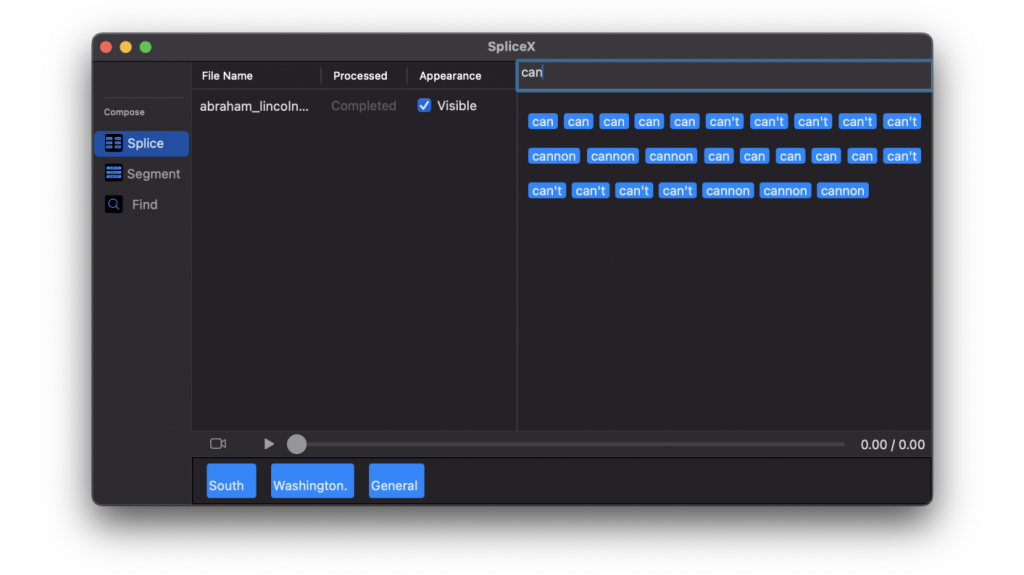
You can filter the list of splices to view words that match the text. Clicking on the words will play their respective segment in the file. Pressing ⌘ + click will add the splice to the splice export list.

Right clicking on the file itself allows you to add/remove the file, update the file path, or enter the Edit Transcription View editor to fine-tune the transcription. By default the word color is blue however, the settings can be modified to add color to each word based on the transcription confidence. Green words are more likely to be accurate and Red words are more likely to be inaccurate.
Edit Transcription View
Editing a transcription is designed to be similar to editing a text file. Significant time has been invested in this screen to ensure efficient and feature-complete transcription editing. A new screen will open allowing the user to edit the transcription. The purpose of this screen is to fine-tune an existing transcription. Users edit, add, delete, or modify the start & end time of a particular word. Right clicking on a word or a selected range of text will allow you to re-assign the current speaker associated with it.
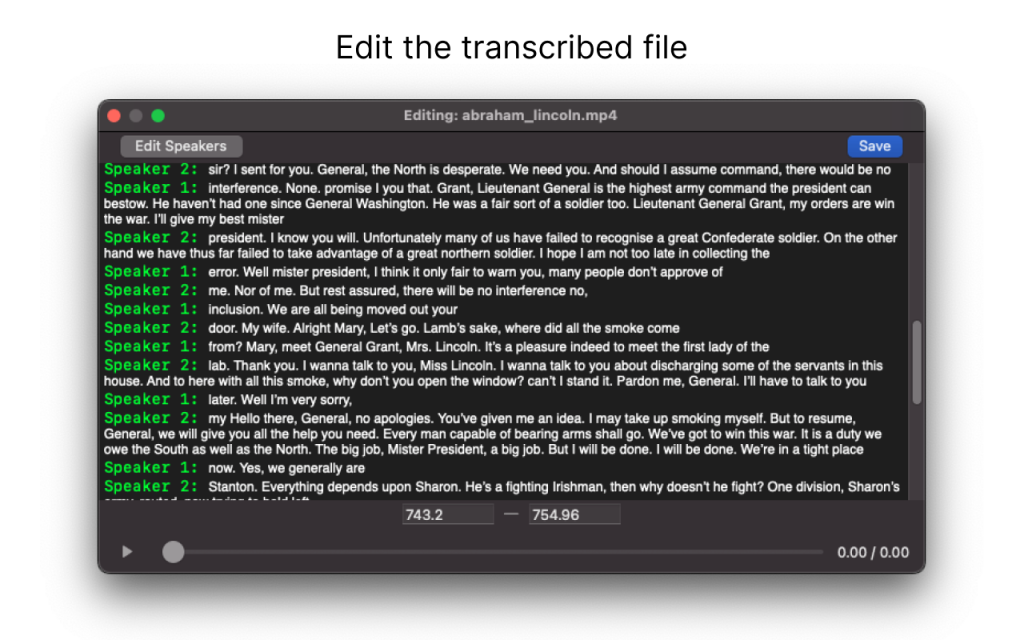
Each word will have a start and end time pre-populated by the transcription engine. Important: No changes will be made unless you click the Save button at the top right of the screen. After you click Save, it is safe to close out of the Edit Transcription View screen.
You can edit, add, remove, or rename the list of speakers from a transcribed file. The transcription marks speaker turns meaning only two speakers can be derived from each transcription.
Settings
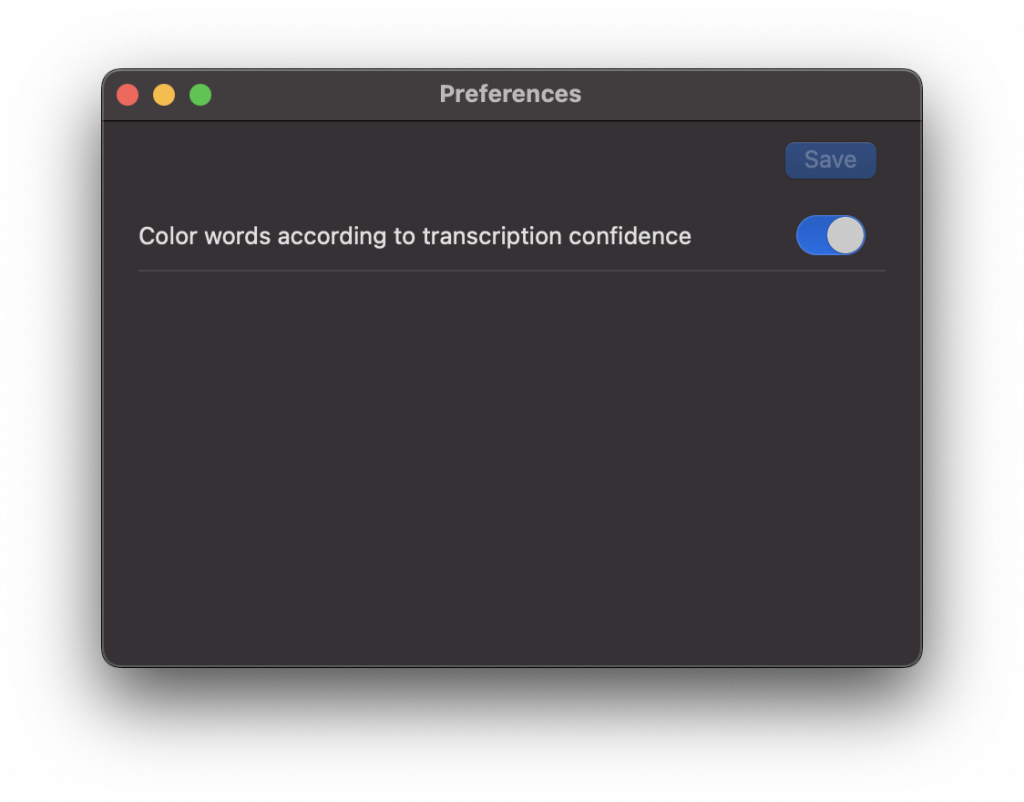
Color words according to transcription confidence: The transcription engine rates its confidence for each word transcribed. Words transcribed with low confidence will be colored red and with high confidence is colored green.
Segment View
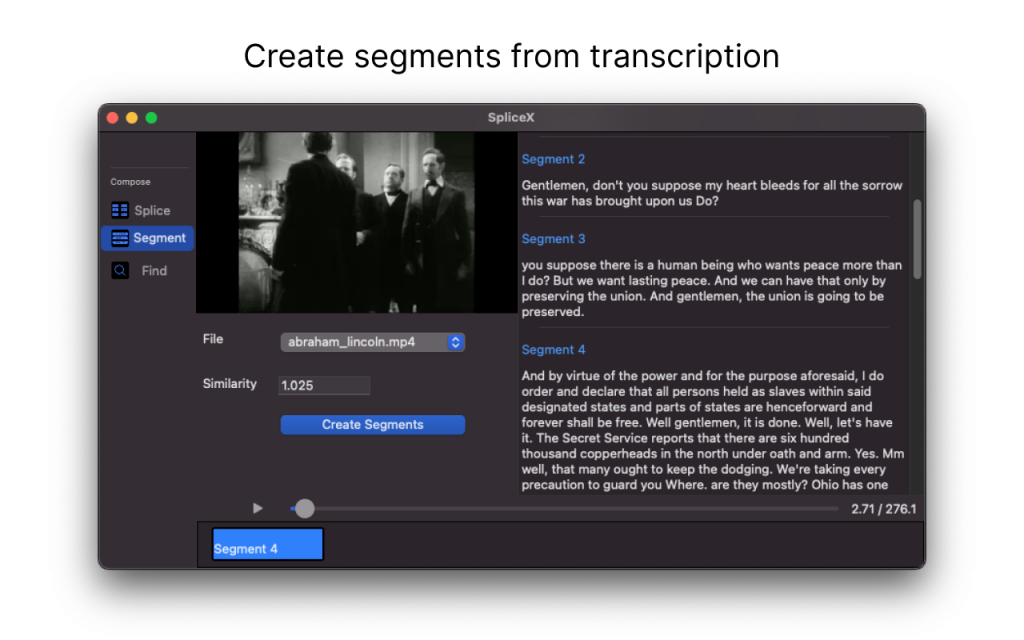
The purpose of the segment view is to split a given transcription into different parts. The split is determined by vector proximity and can be adjusted by changing the Similarity value in Segment Preferences
For this document, we will refer to the portions of the Segment View in the following way.
Splice Export List This is left unchanged when navigating to & from other screens.
Segment Browse List Segments will appear here when created
Video View The video will play when a segment or the play button above the Splice Export List is left clicked.
Segment Preferences These allow you to set parameters for the segment screen.
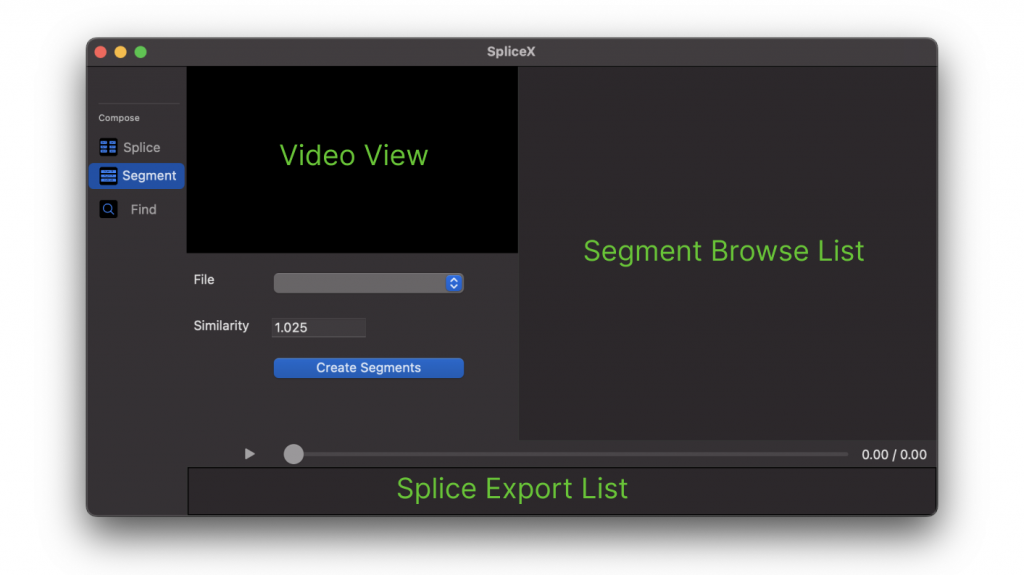
Active files that are fully transcribed will appear in the File dropdown in Segment Preferences. Once the segments are created, clicking on the segment title will open a dialog allowing you to add a sub-range of text to the splice export list. Similar to adding a splice to the splice export list, pressing ⌘ + click will add the segment to the splice export list. Pressing Play will play and display the splices in the splice export list in the Video View
Find View
The find view operates as a search tool to operate full text search across each visible file. The search is case sensitive and the results will have the word appear in bold
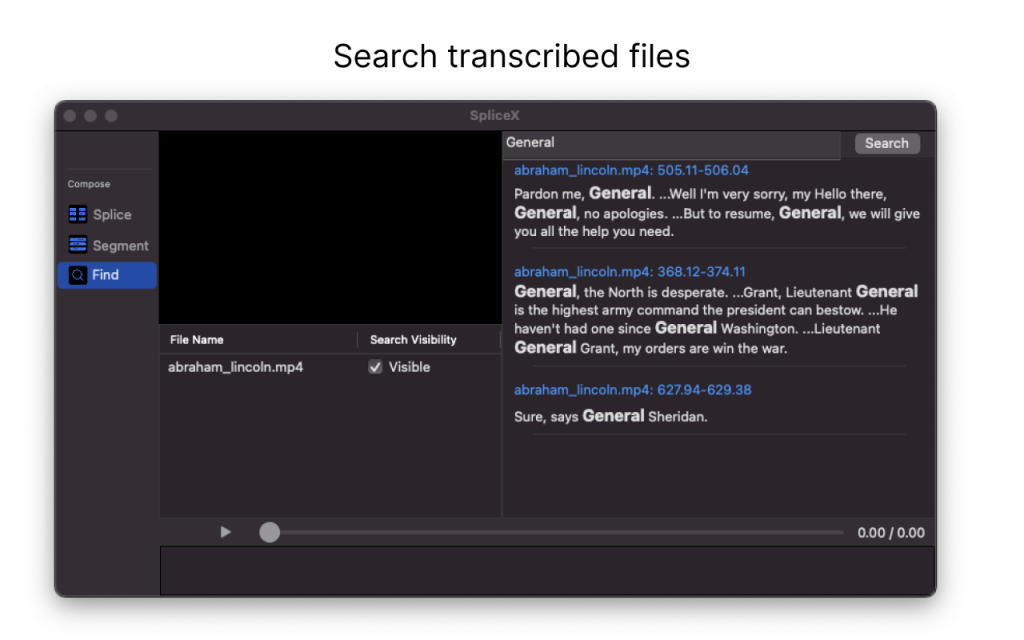
Interacting with the search results operates similar to the Segment view.
– Clicking on the blue title will open a dialog allowing you to add a sub-range of text to the splice export list.
– Pressing ⌘ + click will add the segment to the splice export list.
– Pressing Play will play and display the splices in the splice export list in the Video View
Menu Items
Additional functionality is provided by accessing the top menu. An explanation for each item will be provided below each picture.
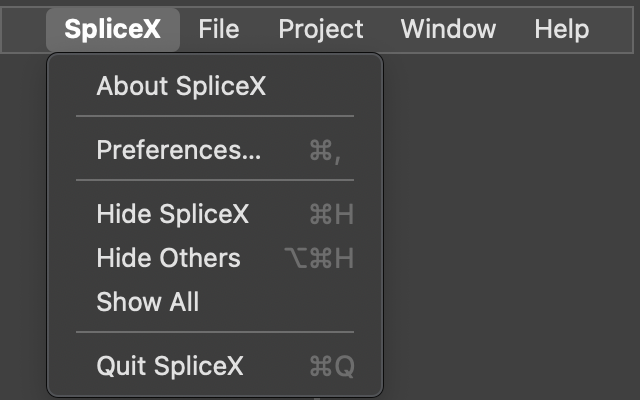
Most of the items under this menu are self explanatory.
Preferences This will navigate you to the settings page

Here you can save & load from a project file. The project file is a .json file that stores additional information for an imported file. Saving a project file does not save a copy of the imported media files. If a media file is moved or renamed, you will be required to re-identify the location of that file.
Save Project File Saves the project to a JSON file for future import.
Open Project File Allows projects saved to a saved file to be imported.

It is possible to import a project from another computer. You will need to import and locate all relevant media files listed in the project file. This can be done by opening the project file and pressing the Locate File button in the Splice View.

Add Files The Project menu provides one possible way of adding a file.
Process Available Files The program should automatically start the transcription process after a file is added but if something occurs, you can select this menu item to run the transcription process for all files that need to be transcribed.
Export to File Running this will run the export operation on the splices specified in the Splice Export List. It will be written to a video or audio file depending on the filetype of the referenced file. If you mix audio and video files, a video file will be returned. In each spot where there is audio, a SpliceX icon will appear.
